The Only Roof Shingle Removal Blog You’ll Read
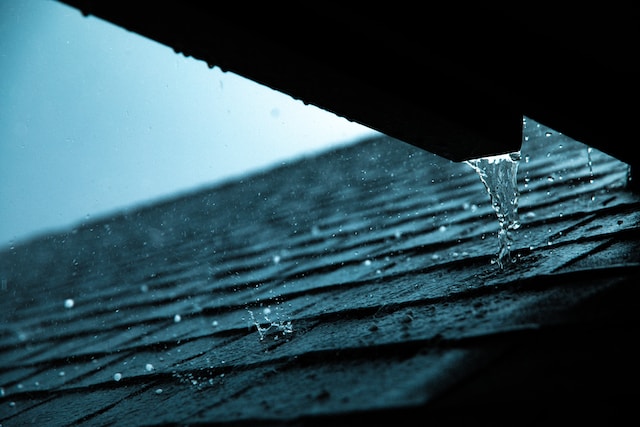
A few damaged shingles or the sight of asphalt shingle granules in your gutter may signal it’s time to replace your roof. A re-roof can save you from costly water damage in the future.
Start at the peak of your roof and work your way down in 2 to 3-foot sections. Be sure to inspect the flashing around chimneys, vents and pipes for signs of wear.
What You’ll Need
A few key tools will make your job easier, and help prevent injuries while you tear off shingles. First and foremost, a roof-stripping shovel tool is necessary, and can be bought at many home improvement stores or rental centers. Also, a pair of work gloves, a ladder, a safety harness and a broom with a magnet are essentials. You’ll want to wear long pants and comfortable shoes for working on a precarious surface, and you’ll need a pair of goggles to protect your eyes from loose granules.
Begin at the section of the roof farthest from your dumpster, and work your shovel or fork under the ridge caps (the shingles on the top of the roof). Pry them loose, and allow them to slide down to your shingle jacks. Now begin the process of removing shingles in 2 to 3-foot sections. Start at the peak, and drive your tool under a row of shingles plus the felt paper beneath them. Use leverage to pry the shingles free, and let them slide down to the jacks. Repeat this process for all the shingles you can reach, making sure to always use leverage and not just brute strength.
You’ll want to keep a trash container or tarp handy, so you can carry your shingles away from the roof and dispose of them. If possible, toss your shingles into a large garbage bin that can be easily driven to and from the house. Otherwise, a tarp on the ground can do the trick – just be careful to pile the shingles in an area far from flower beds and shrubs.
Once you’ve removed the shingles, take a closer look at your damaged areas. If the shingle is cracked, worn or missing, it’s best to just replace it. However, if it’s only slightly damaged, you might be able to salvage the shingle by removing the adhesive under the tabs two rows above the damage and pulling up the nails that way. If you’re unsure, consult a professional roofing contractor. This could save you money in the long run.
Preparation
Now that you’ve removed all the old shingles, it’s time to start the process of installing your new roof. First, make sure the work area is clean and free of tripping hazards. Then, spread tarps or sturdy blankets over any plants nearby that might get harmed by dropped tools and debris. Remove any outdoor furniture or other objects from the work area to prevent them from being damaged by falling shingles or other roofing elements.
Next, you’ll need to set up roof jacks, steel anchors that fasten to the roof and hold planks for safety. You’ll want to place the jacks no more than four feet apart and nail each one through the roof sheathing into a rafter. This will help to keep you from slipping off the roof and injuring yourself.
Once you’ve completed this step, you can remove the tarps and plywood, then check your gutters to make sure they aren’t clogged with shingle debris. If they are, you can sweep the debris and stray nails with a magnetic broom to clean them up from your yard. Lastly, you’ll need to “button up” your roof by adding ice and water barriers and 30-lb. asphalt-saturated felt underlayment, which will act as a temporary weather barrier to protect your home until the shingles are installed.
Cleaning Up
Once you’re done removing your shingles, it’s important to keep your work area clean. If you have a tarp, cover the ground with it to prevent any stains or damage to your lawn. Also, periodically tip the growing pile of roofing debris off the roof jacks and into a designated trash can below. It’s also a good idea to run your magnetic sweeper over your lawn to pick up any loose nails that have fallen from the roof. Loose nails are a tripping hazard for anyone who walks by the work area or tries to mow the lawn. This is especially true if they are lying in the grass, where they can easily be hidden and hard to find.
Finally, be sure to line up a dumpster rental before you start your project to ensure you’ll have a way to dispose of the roofing debris. Typically, the amount of debris from a roof will exceed what you can fit into your residential trash can.